
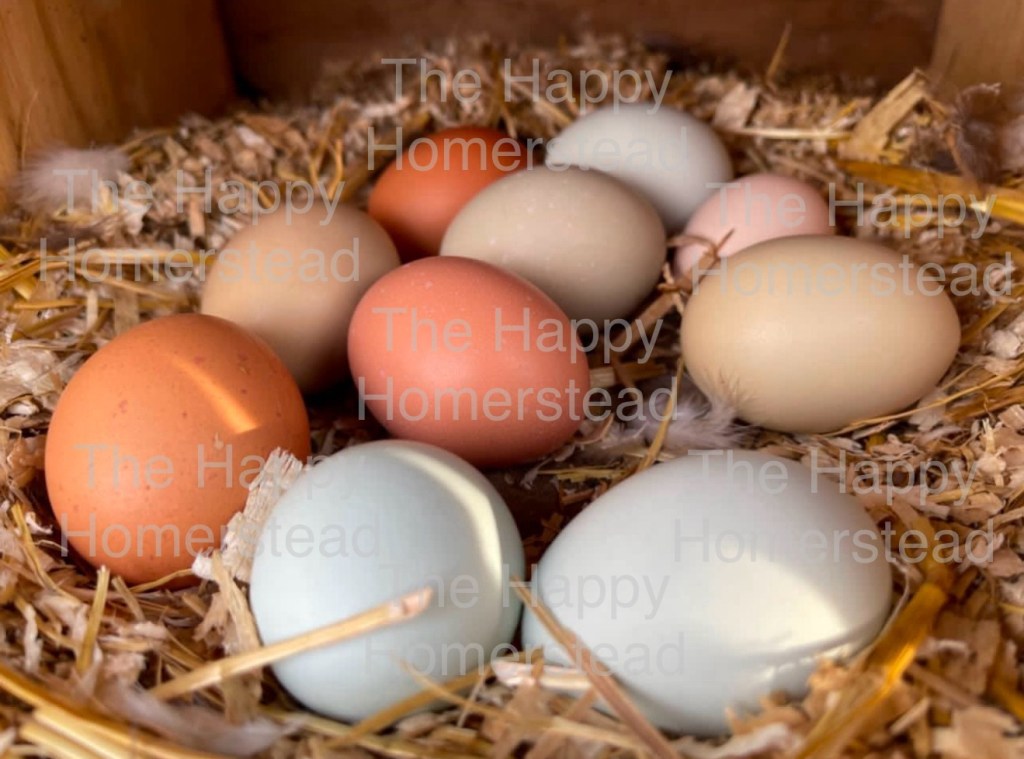
The journey of hatching chicken eggs begins with an essential first step: selecting the right eggs. This decision can greatly influence your success rate, and it’s important to pay attention to factors like fertility, freshness, egg quality, and, when applicable, how the eggs have been handled if they’re shipped. Let’s break down the key considerations for choosing eggs that have the best chance of hatching healthy chicks.
1. Fertility: Ensuring the Eggs are Fertilized
For an egg to be fertile, the hen must have mated with a rooster. However, fertilization doesn’t happen immediately after a single mating session. Sperm can survive inside the hen’s reproductive tract for up to two weeks, meaning that eggs laid in the days following mating can still be fertilized. Here are some things to keep in mind:
- Timing Matters: After the rooster’s first mating, wait at least 24 hours before collecting eggs to give them the best chance of being fertilized. This ensures that the hen has had enough time for the sperm to reach and fertilize the eggs.
- How Long After Mating for Fertilization? Eggs are typically fertilized within 24 to 48 hours after mating. If you’re collecting eggs for incubation, be sure to give your hen a few days after the rooster’s first mating to ensure the eggs are fertile.
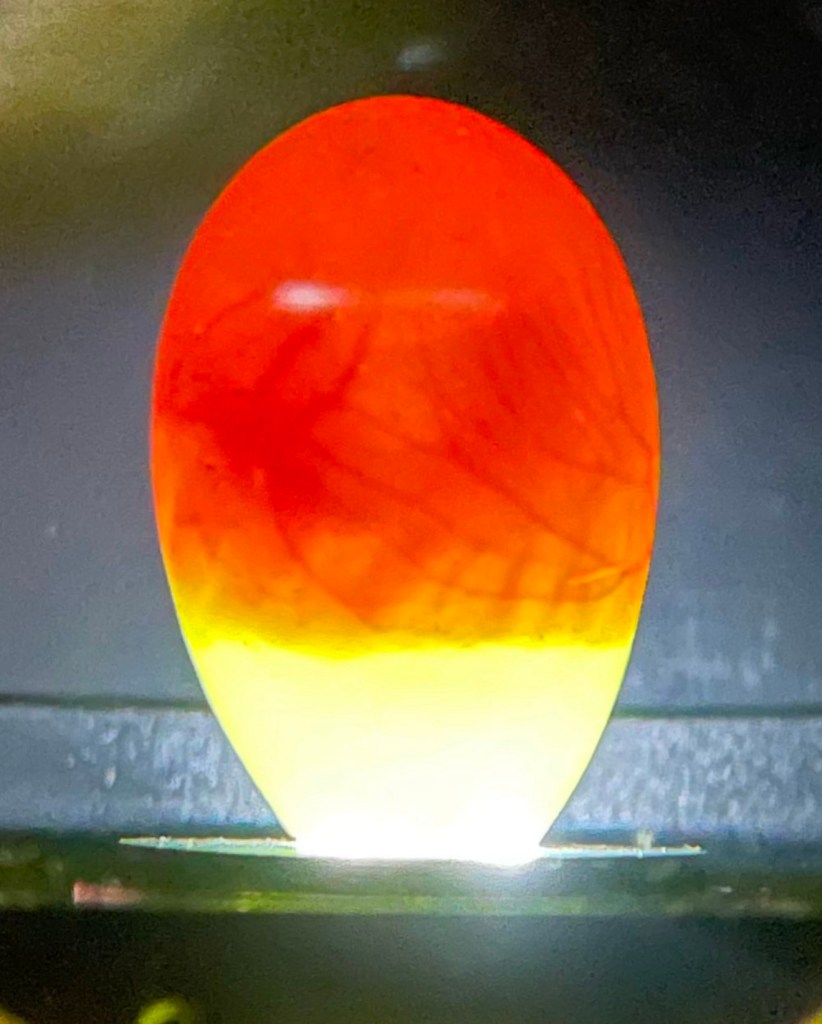
- Checking Fertility: If you’re unsure whether the eggs are fertilized, you can perform a technique called candling. Candling involves holding the egg up to a bright light, allowing you to see the inside. Around Day 7 of incubation, look for a small dark spot (the embryo) surrounded by veins. If you don’t see this, the egg is likely not fertilized.
Candling Made Easy with the Brinsea Egg Scope
Checking fertility can sometimes be tricky, especially with eggs that have thicker shells or less transparency. Personally, I use the Brinsea Products Egg Scope for Monitoring The Development of The Embryo within The Egg, and I absolutely love how convenient it makes the candling process.
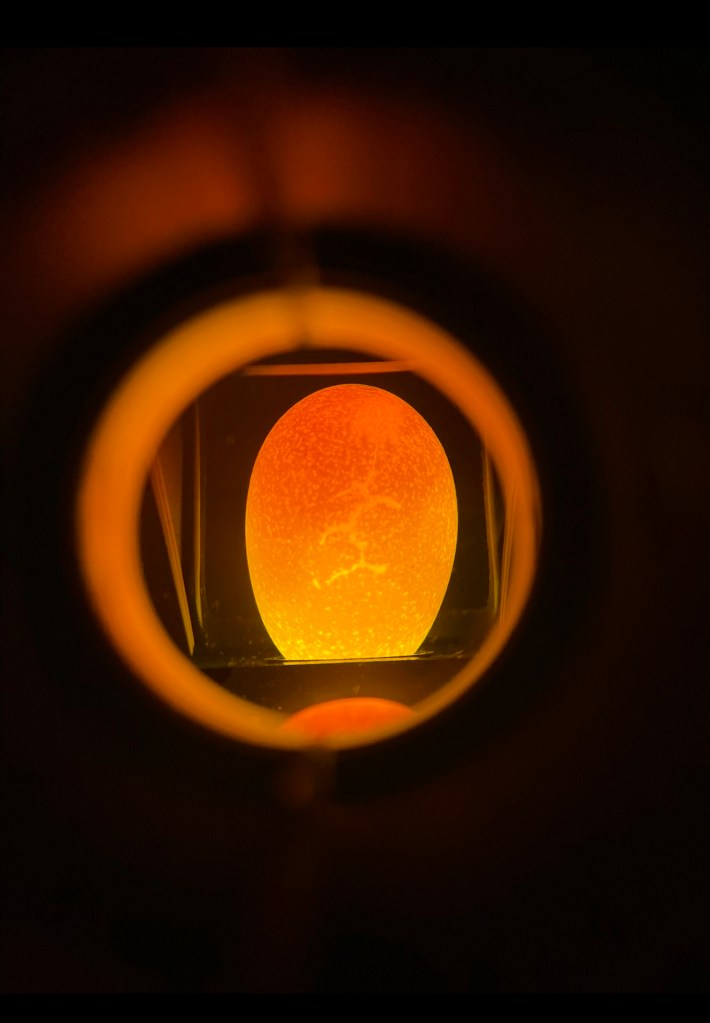
One of the standout features of the Brinsea Egg Scope is that you don’t need to be in a darkroom to candle your eggs. This product allows you to easily monitor the development of the embryo with minimal effort. Thanks to its built-in light and ergonomic design, I can turn the egg with ease using the rotating mechanism. This allows me to get a complete view of the egg without any awkward positioning or darkroom setup. It’s a huge time-saver, especially if you’re incubating multiple eggs!
I find that Coturnix quail eggs, in particular, are a bit more challenging to candle due to their darker, thicker shells. However, with the Brinsea Egg Scope, I can observe the development clearly, which can be difficult with traditional candling methods. The rotating mechanism allows me to slowly rotate the egg to view it from different angles, ensuring I can spot any signs of embryo development or any issues early on.
Whether you’re incubating chicken eggs, quail eggs, or other poultry eggs, this tool simplifies the process and makes candling much more accurate. I highly recommend it for anyone who wants to monitor their eggs with confidence.
2. Egg Freshness: The Clock Starts Ticking
Freshness is another critical factor when selecting eggs for hatching. The fresher the egg, the higher the likelihood that it will develop into a healthy chick. Here’s what you need to know:
- Ideal Age for Incubation: Eggs should ideally be incubated within 7 days of being laid. Although eggs can sometimes remain viable for up to 10 days, their chances of successful hatching diminish as they age. After 10 days, embryos may not develop properly, and the egg may not hatch at all.
- Egg Storage: If you are not incubating the eggs immediately, store them in a cool, dry place with the pointed end facing down. This helps maintain the air sac and prevents the embryo from sticking to the shell. Avoid storing eggs in the refrigerator, as cold temperatures can interfere with embryo development and reduce the chances of hatching.
3. Egg Quality: Choose Eggs in Good Condition
The condition of the egg is just as important as its fertility and freshness. Selecting eggs with visible cracks or defects can significantly reduce the chances of successful hatching. Here’s what to look for:
- No Cracks or Defects: When choosing eggs for incubation, make sure they are smooth, clean, and free from cracks or significant abnormalities. Even small imperfections might not affect the chances of hatching, but large cracks or weak spots can expose the embryo to harmful bacteria, making it more susceptible to infection.
- Proper Size: While size alone doesn’t guarantee fertility or hatchability, larger eggs are often preferred for hatching. They provide more room for the embryo to grow and typically result in healthier chicks. Small eggs may be infertile or, in some cases, lead to smaller or weaker chicks. Be sure to select eggs that are of appropriate size for your breed.
4. Hatching Shipped Eggs: Special Considerations
When you order eggs to hatch, they’re often shipped long distances. The stress of transportation—temperature fluctuations, jostling, and handling—can affect the eggs’ viability. Here’s what you need to know if you’re hatching eggs that have been shipped:
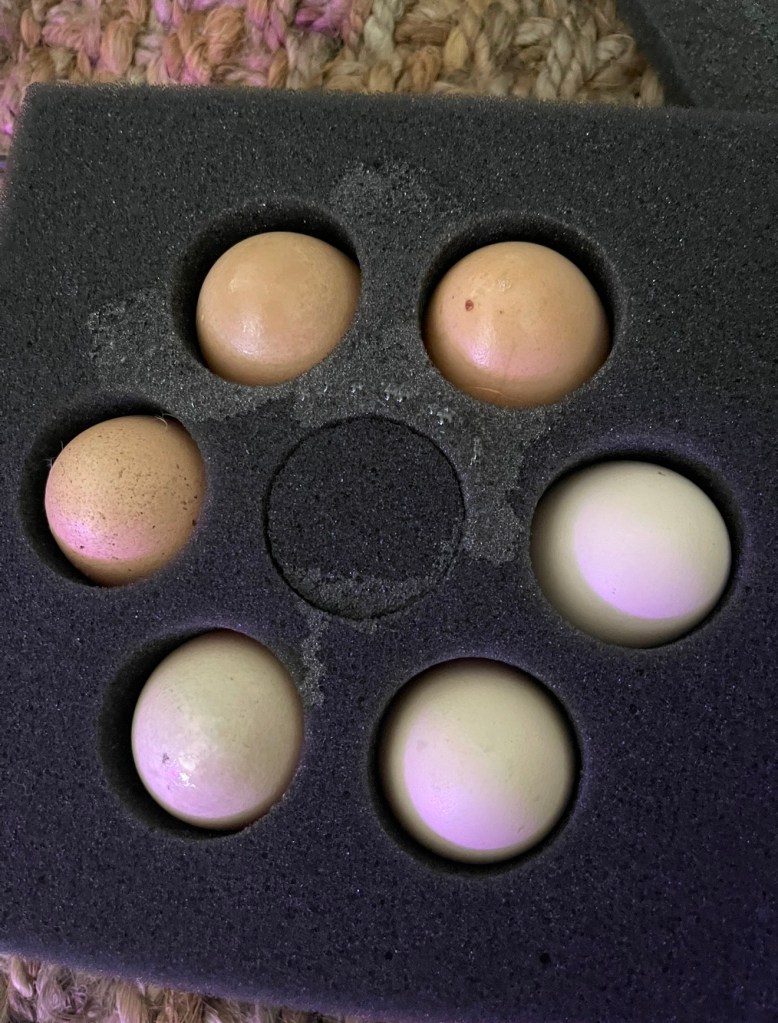
- Resting the Eggs After Shipping: Once the eggs arrive, resist the urge to place them immediately into the incubator. Let the eggs “rest” for at least 12 to 24 hours in a warm, cool, dry place, with the pointed end down. This resting period helps the air sac settle and gives the embryos a chance to reorient themselves, minimizing the risk of malpositions during hatching.
- Assessing Egg Quality: Carefully inspect the eggs for any cracks or defects caused during shipping. Eggs might arrive with small hairline fractures, so be vigilant. If any eggs are damaged, discard them. In addition to inspecting the eggs visually, you can also use the Brinsea Products Egg Scope for Monitoring The Development of The Embryo within The Egg to candle the eggs before incubation. With the Brinsea Egg Scope, you can easily check the eggs for fertility and early signs of embryo development as soon as they arrive. This is especially useful if you’re uncertain whether the eggs are viable, or if you want to make sure you’re not incubating eggs that are already infertile. Using this tool before incubation also allows you to spot any potential issues like cracks or defects in the shell, which could have been caused during shipping. The rotating mechanism of the Egg Scope makes it so easy to inspect the eggs from all angles, giving you a clear view of the contents without any fuss.
- Adjusting Incubation Conditions: Shipped eggs may require slightly different incubation conditions. For example, because of the stress during shipping, it’s often recommended to increase the humidity slightly in the incubator. This adjustment helps compensate for any damage to the eggshells and can increase the chances of a successful hatch.
- Egg Freshness and Handling: The freshness of shipped eggs is even more crucial than locally sourced eggs. Eggs should ideally be no older than 7 days when shipped. Eggs that have been in transit for an extended period or not stored properly during transport may have reduced hatchability.
In Summary: Setting Up for Success
Choosing the right eggs is the first and most important step in ensuring a successful hatch. Whether you’re selecting eggs from your own flock or hatching eggs that have been shipped to you, follow these tips to give your eggs the best possible chance:
- Make sure they are fertilized by confirming the presence of a rooster and allowing time for mating.
- Select fresh eggs, ideally within 7 days of being laid, and avoid older eggs when possible.
- Ensure the eggs are free of cracks, clean, and in good condition.
- Store eggs properly if not incubating immediately, with the pointed end facing down in a cool, dry place.
- If the eggs are shipped, allow them to rest for 12–24 hours before incubating and check for any shipping damage.
By carefully selecting eggs that meet these criteria—and properly handling shipped eggs—you’ll be setting the stage for a successful hatching process. In Part 2, we’ll dive into the next crucial step: incubation. Stay tuned for more tips and tricks to guide you through the process of hatching your own chickens!
Happy hatching! 🐣
Sources
Hatching Time Incubator Blog, “Shipping and Incubating Fertile Eggs”. Hatching Time Incubator Blog. https://www.hatchingtime.com/blog
Simoyi, V. A. P. L., et al. Poultry Science: A Laboratory Manual.
University of California Agriculture and Natural Resources. “Incubating and Hatching Poultry Eggs.” UC Agriculture and Natural Resources. https://ucanr.edu/sites/poultry/
Cornell University. “Egg Fertility and Incubation.” Cornell University Poultry Program. http://poultry.cornell.edu/
The Poultry Site. “Egg Storage and Handling.” The Poultry Site. https://www.thepoultrysite.com/
University of Arkansas, Division of Agriculture. “Hatching Eggs: Handling, Storing, and Incubation.” University of Arkansas. https://www.uaex.edu/
McNulty, J. L. R. Egg Quality: A Guide for Consumers and the Poultry Industry. FAO.
Osterhage, Judy. The Complete Guide to Raising Chickens.
University of Kentucky. “Selecting Eggs for Hatching.” University of Kentucky, Poultry Research. https://afs.ca.uky.edu/poultry
Swayne, David E., et al. Poultry Health and Management.
Cole, D. J. A. Manual of Poultry Practice.
American Poultry Association. Standard of Perfection.
Durojaiye, G. C. Successful Poultry Production.
PoultryDVM. “How to Hatch Shipped Eggs.” PoultryDVM. https://poultrydvm.com/
Backyard Chickens. “Selecting Eggs for Hatching.” Backyard Chickens Forum. https://www.backyardchickens.com/
Meyer Hatchery Blog, “Tips for Hatching Shipped Eggs”. Meyer Hatchery Blog. https://www.meyerhatchery.com/blog

Leave a comment